

Returns app
This article focuses on using the Returns app. For information on APIs and customizations, see the Returns article.
The Returns app supports the operational process of assessing and accepting returned items. There are two types of returns:
Announced returns: where a customer notifies the retailer in advance about the return. This notification typically includes information such as the reason for the return.
Unannounced returns: when a customer returns an item without prior notification.
Both can be managed using the Returns app.
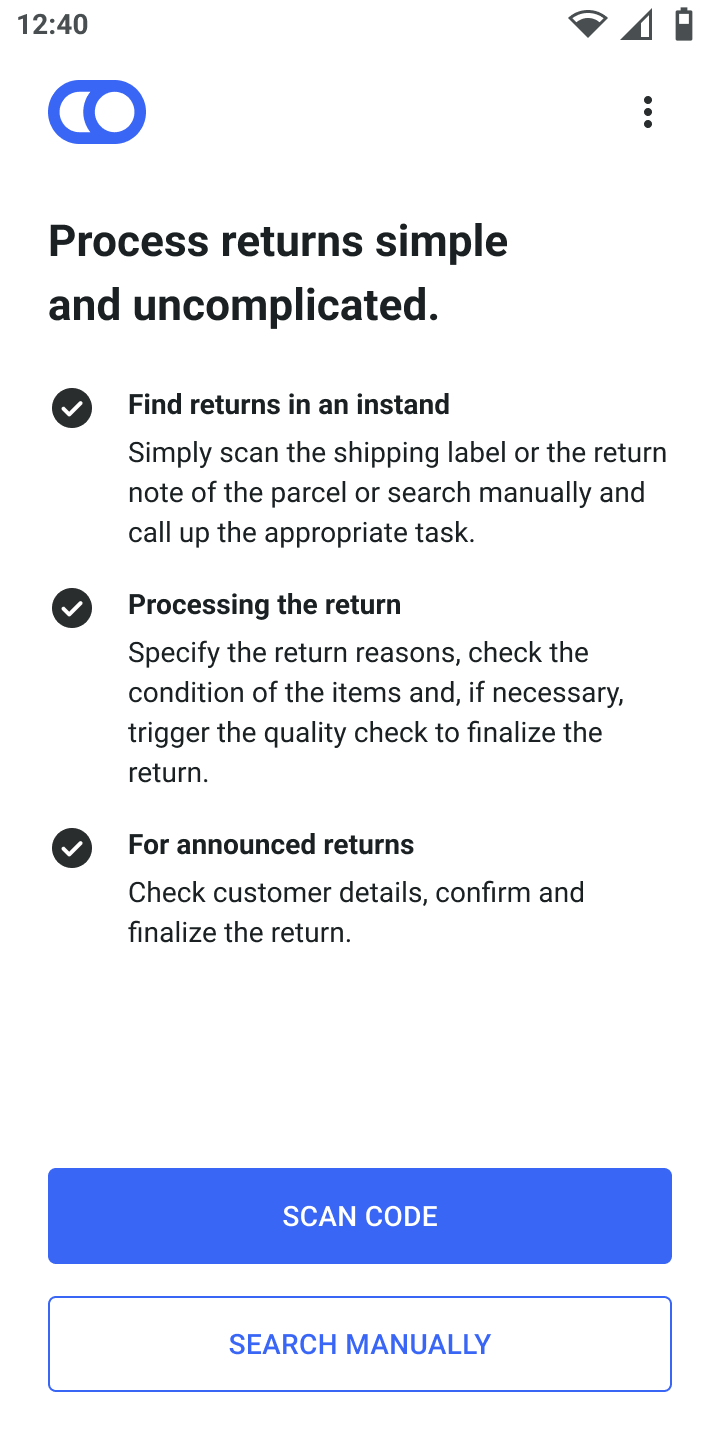
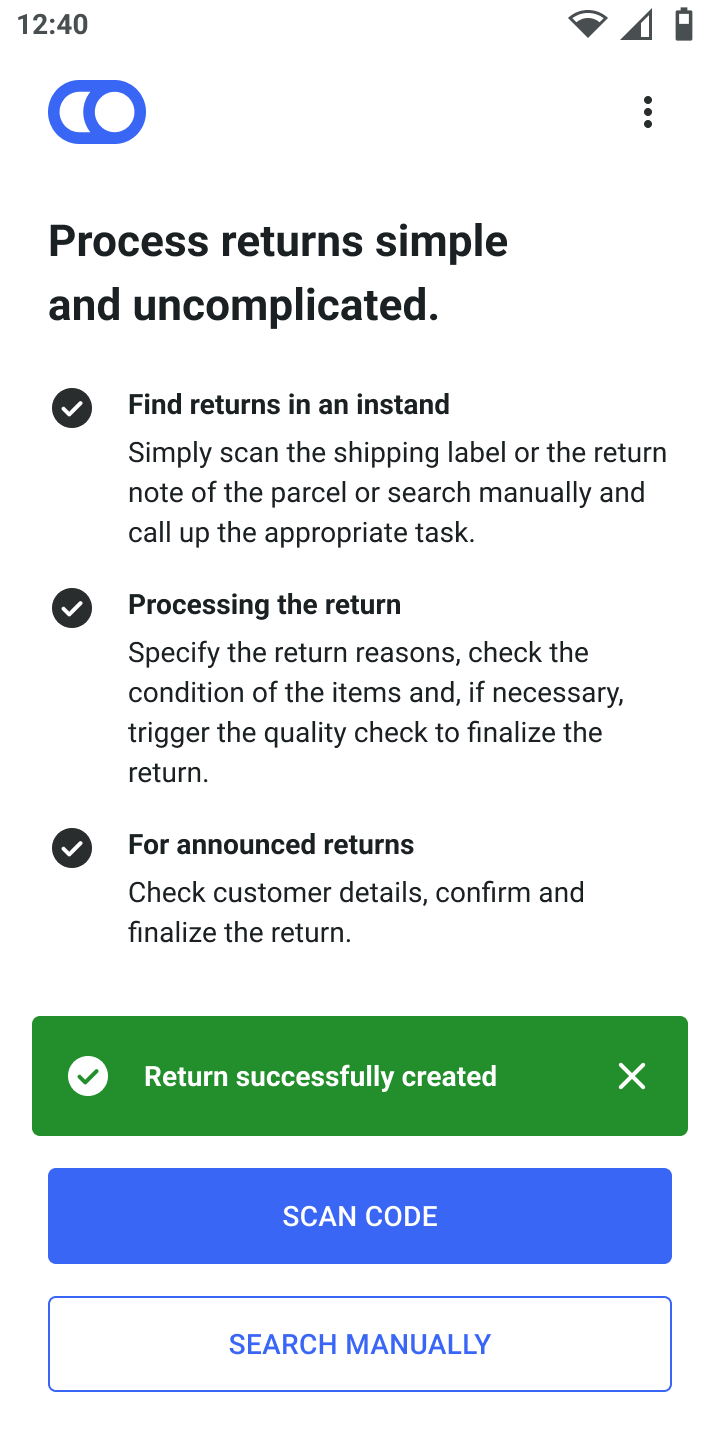
To manage a return, open the app and follow the steps below.
Identify a return
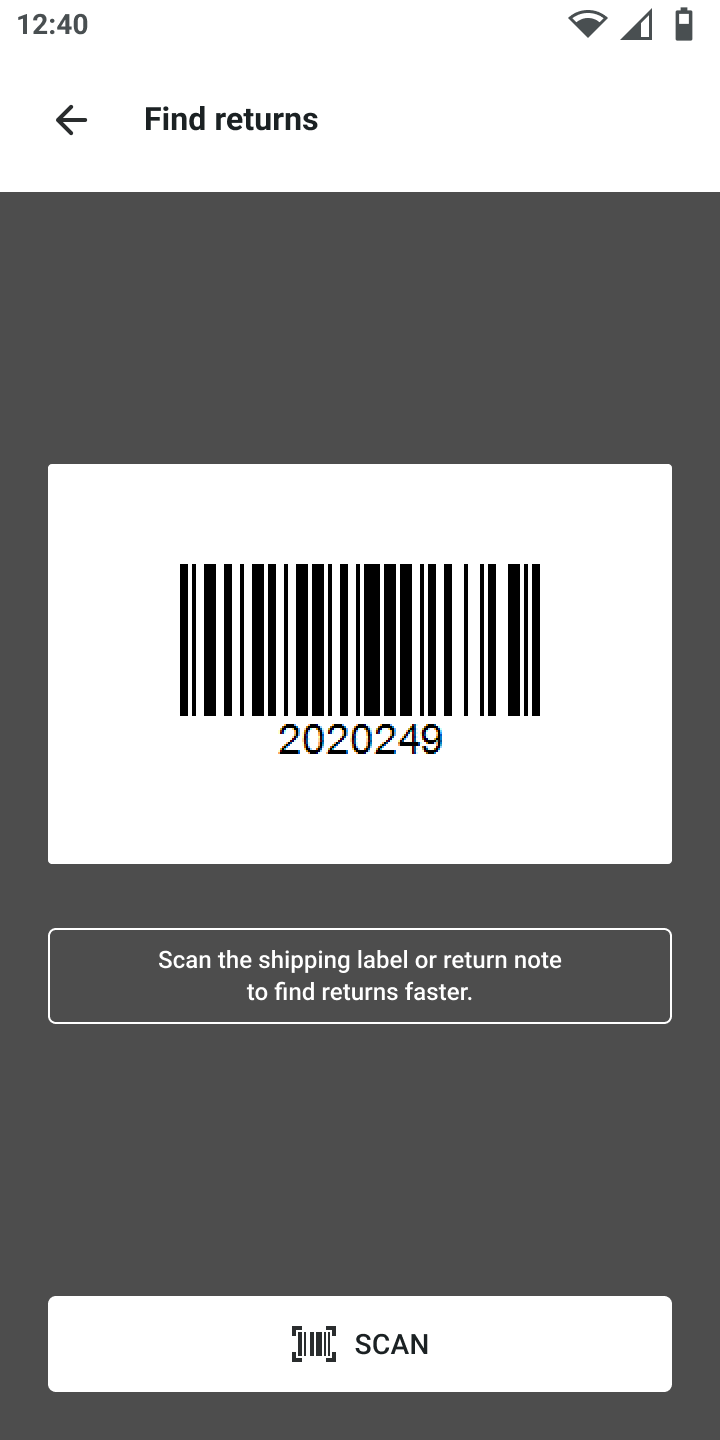
Scan the package shipping label or return note to identify the return.
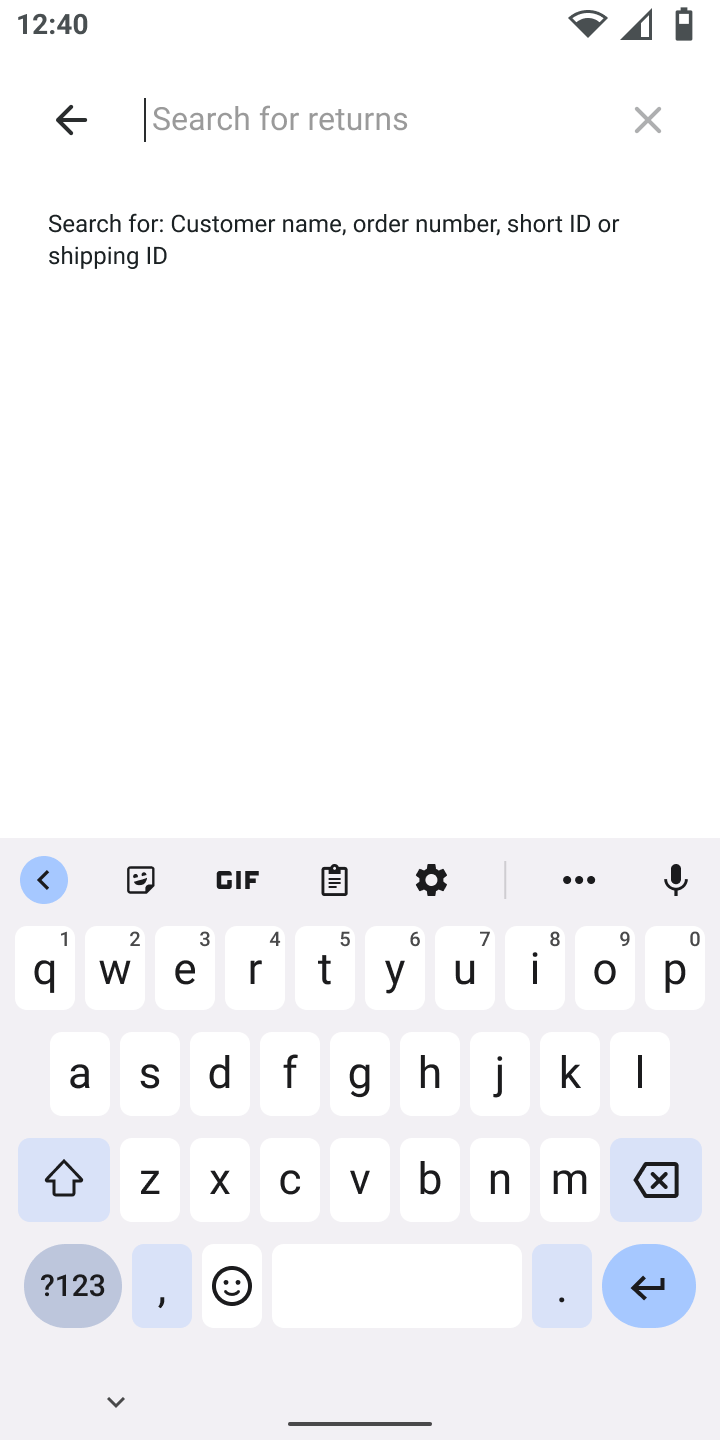
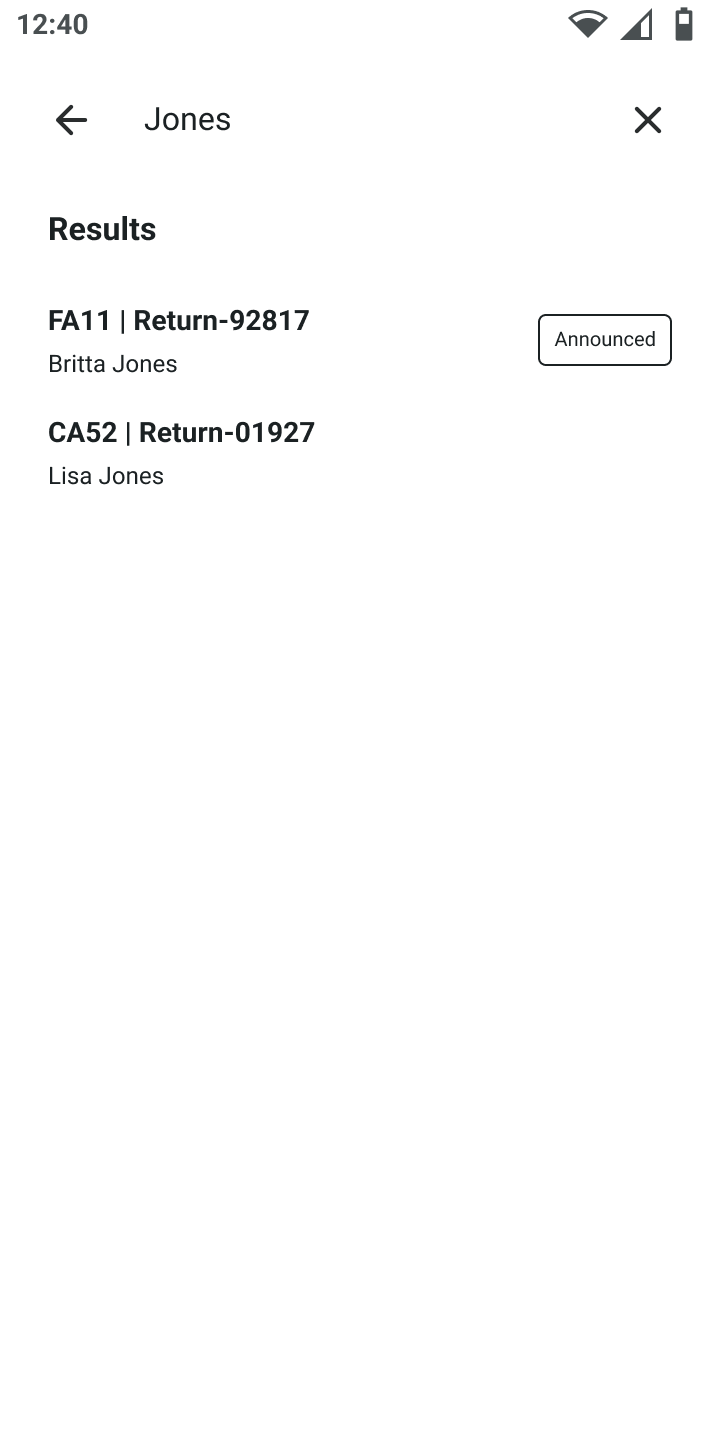
If no label is available to scan, search by customer name, order number, short ID, or shipping ID.
Available announced returns are highlighted with a tag indicating announced items.
In the return process, it's not always possible to scan the return label's QR code to identify the tracking ID or return. This is only feasible if the QR code on the return label contains only the tracking ID without any additional information.
It's recommended to prioritize scanning the return note whenever possible.
Select the return
If the return has been announced, you'll find it in the Announced returns section. If the item was already returned, you'll find it in the Already returned section. Otherwise, select Create new return.
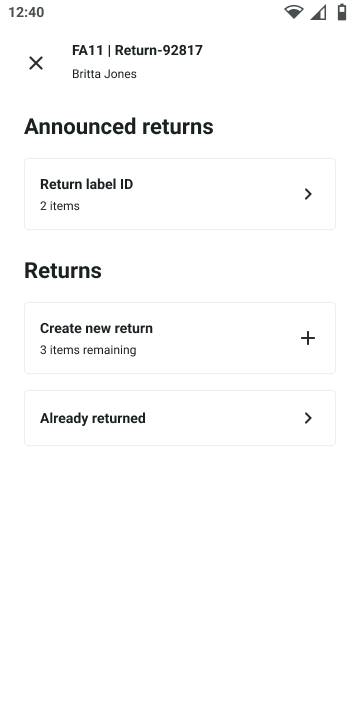
Announced returns have the returnable item(s) pre-selected with all the information provided by the customer. Unannounced returns will require the information to be added manually.
Input item information for unannounced returns
Select or scan all items to include in the return, then tap Next.
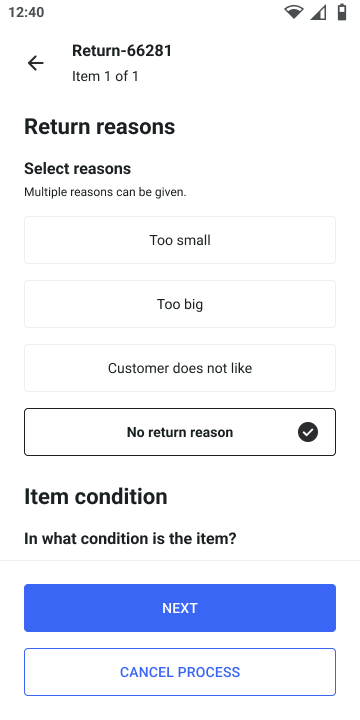
Review the details, including the item quantity, and adjust accordingly. Provide any additional information needed.
If the customer provided a reason and return reasons have been configured, it can be selected from the list.
When two or more of the same item are returned, all subsequent information provided applies to all of them. If you need to specify a unique return reason or condition for each item, you must create them as individual items.
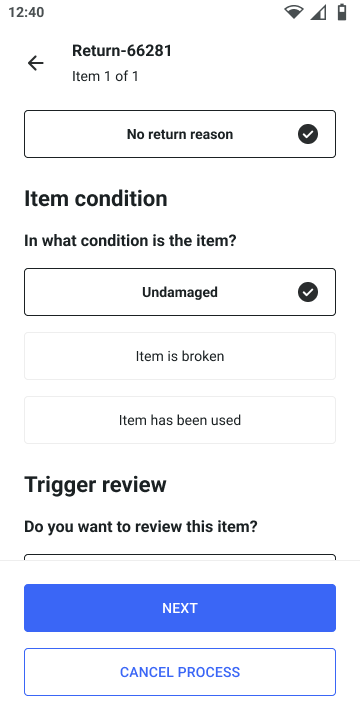
Verify the item's condition (optional)
Once configured, select the condition of the items. Only one selection is available. If a condition other than undamaged is chosen, the app prompts for the quantity of damaged items and an optional comment.
The backend doesn't provide default values for item condition. The Returns app uses a default value of Undamaged. If no additional conditions are configured in the backend, the condition selection is not displayed.
When two or more of the same item are returned, all subsequent information provided applies to all of them. If you need to specify a unique return reason or condition for each item, you must create them as individual items.
Trigger a review (optional)
If an item needs to be rechecked or its returnability is uncertain, a review can be triggered for it.
These items are assigned the status Waiting for input and can be assessed and then accepted or rejected in the Returns section of Backoffice.
Check item overview
Review the information and check that everything is accurate. Tap the edit icon next to the pencil to make changes.
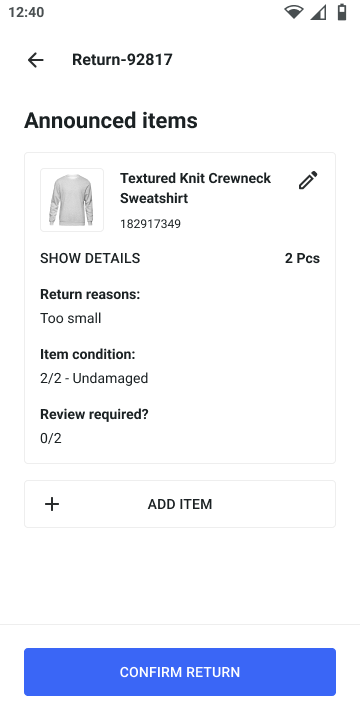
Add more items, if needed
Tap the Add item button to add more items to be returned, then enter their information using the same steps.
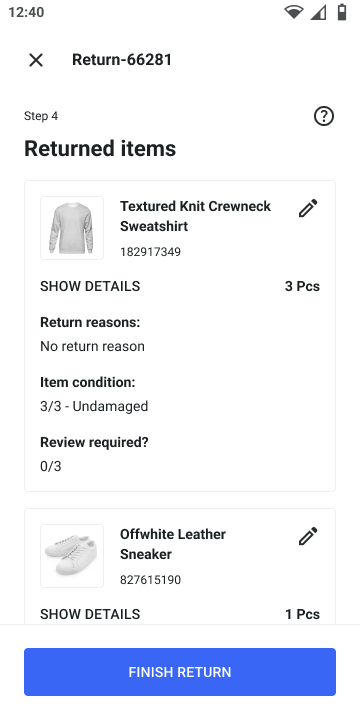
Review the summary and confirm the return
Review the details in the overview screen.
To make changes to a specific item, tap the edit icon on the top right of each item.
A summary screen allows for a final review of all details. Tap Finish return to complete the process.
Last updated